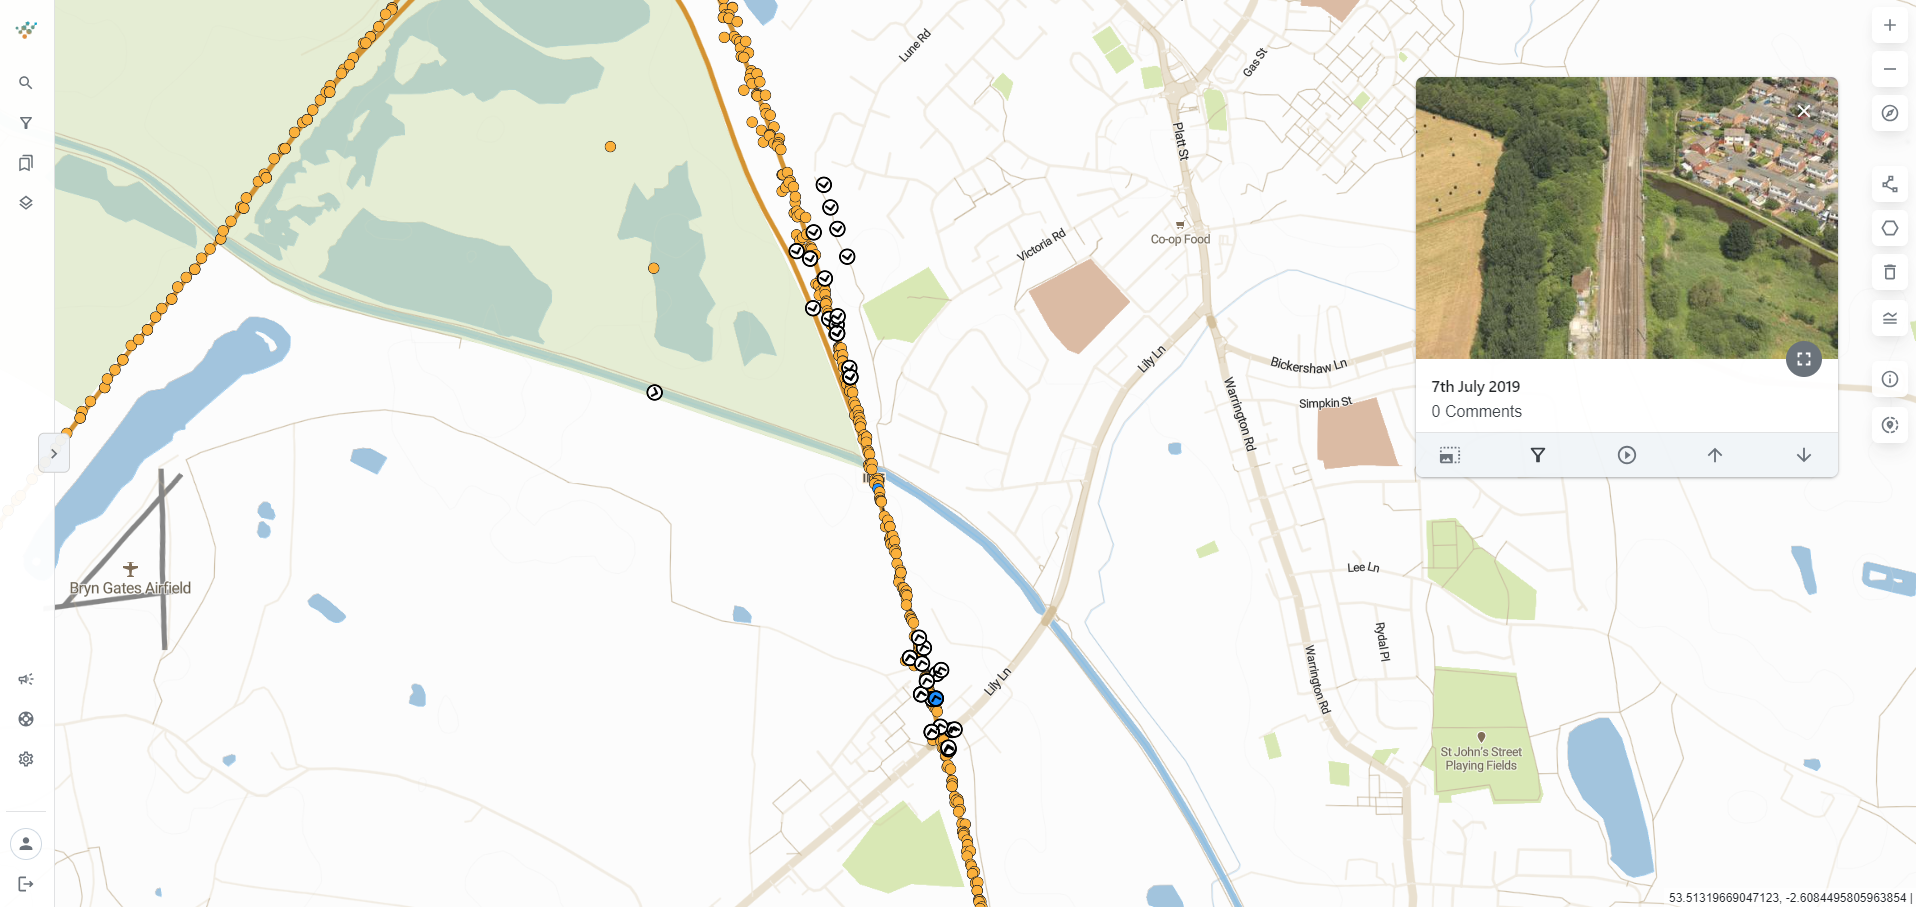
The Image card is located on the right hand side of the screen. It can be made larger and smaller or can fit the whole screen depending on requirements.
|
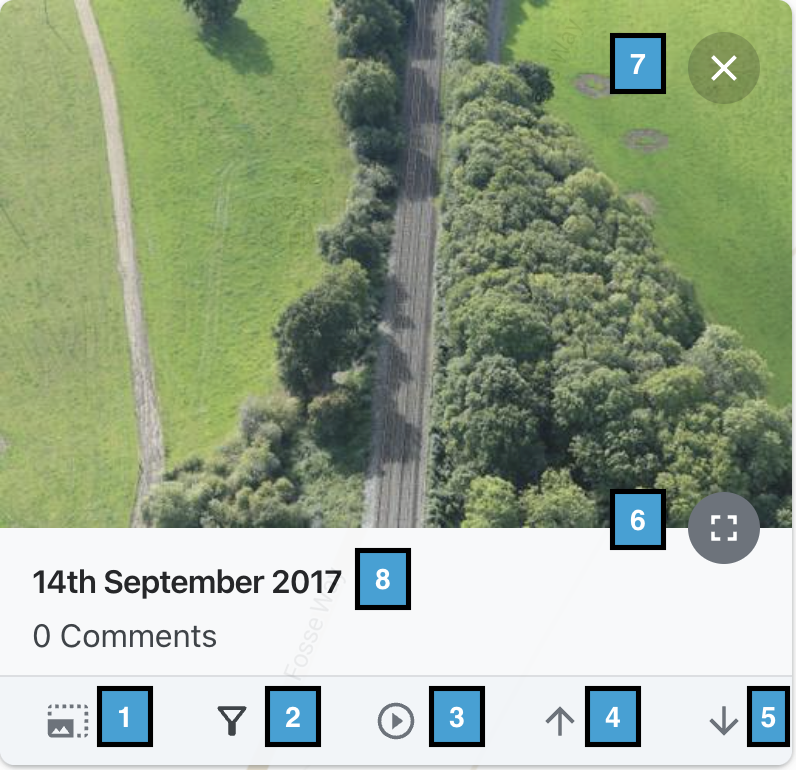
1 |
Increase and decrease the size of the Image card based on your requirements |
|
2 |
The Filter Tool which allows you to filter the map to only show the images on that day |
|
3 |
Play-through button, automatically filters the images to the flight you have selected (see below) |
|
4 |
Scroll forwards through the images |
|
5 |
Scroll backwards through the images |
|
6 |
Make the Image card full screen so that you can view the image in more detail |
|
7 |
Close the Image Card |
|
8 |
The date of the image |
The Play-through button on the Image Card allows you to view the images as a video playthrough whilst following the dot on the mapping.
You can also leave your mouse cursor on top of the image preview which enables you to use your mouse-wheel or your laptop mousepad to navigate along the route for that date, which is very useful if you want to find a particular image.